Scan Old Family Photos With Your iPhone at Thanksgiving
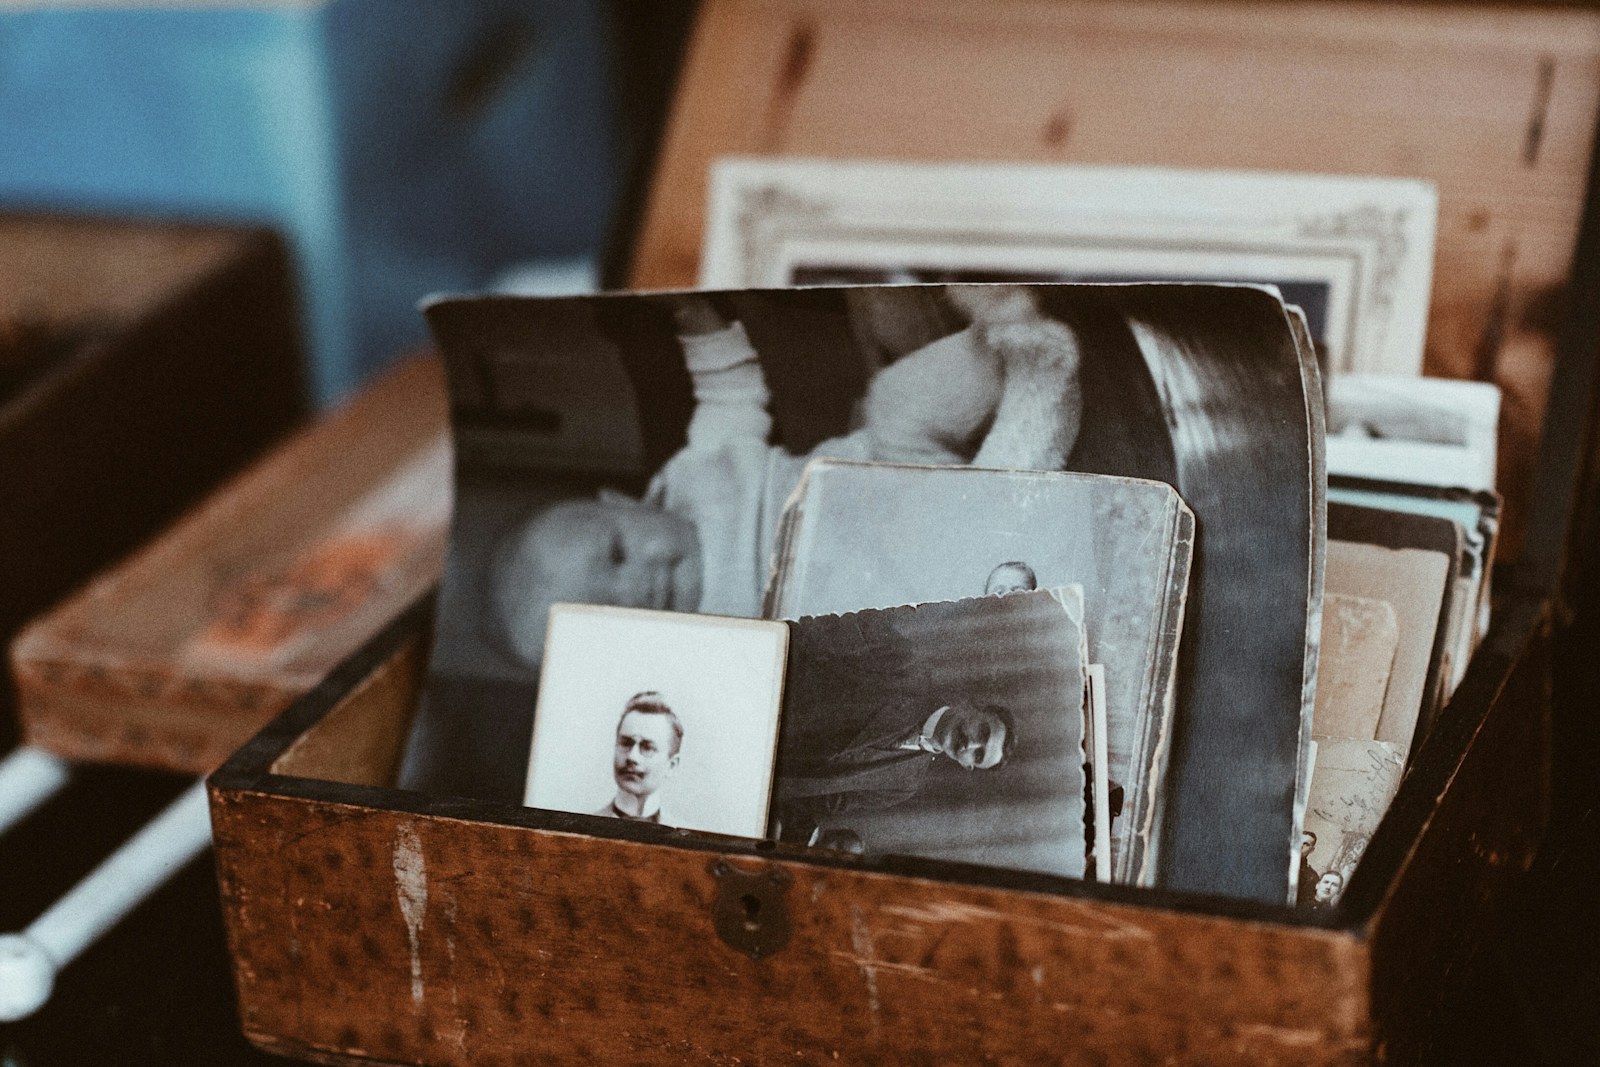
You're home for Thanksgiving, someone brings out the shoebox, and you have one afternoon before everyone scatters again. You don't need a scanner. Lay each print flat by a window in daylight, turn the flash and Live Photos off, and shoot straight down with the Camera app. For glossy prints that catch the light, use Google's free PhotoScan app instead. Then do the two things almost everyone skips: set the real year on each scan so it doesn't land in "today", and write down who's in it while the person who knows is still at the table.
Here is the whole job in order, with what each step costs you in storage.
Before you start: 10 minutes of setup
- Pick the light. A table near a window on a bright, overcast day is ideal. Overhead lamps make a hot spot right in the middle of a glossy print, and the flash does the same.
- Use a dark, plain background. A dark tablecloth or a sheet of black paper makes the edges of the print easy to crop, by hand or automatically.
- Wipe the lens with a soft cloth. A greasy lens makes every scan look soft, and you won't notice until later.
- Take prints out of plastic sleeves if they come out easily. Plastic reflects. If photos are stuck in an old album, leave them there and tilt the album slightly away from the window instead of prying them loose.
- Check your free space. Go to Settings > General > iPhone Storage. A few hundred scans is roughly a gigabyte (more on that below). If you're tight, clear some room first.
Method 1: the Camera app (best for matte prints)
- Open Camera and make sure it's in Photo mode.
- Turn Live Photos off. Tap the arrow or swipe up from Photo mode, tap Live, then choose Off. A Live Photo saves a short video clip with every shot, which you don't need for a still print.
- Turn the flash off in the same controls.
- Hold the iPhone directly above the print, parallel to the table, so the print fills most of the frame. Leave a little background around the edges for cropping.
- Tap the print on screen to focus, then take one shot. Look at it before moving on: if there's glare or blur, delete it and shoot again right away, so you don't end up with three versions of every photo.
Ended up with several takes of the same print anyway? Phone Diet groups near-identical shots together and marks the best one Keep, so you can clear the retakes in one go. The scan is free.
Method 2: Google PhotoScan (best for glossy prints)
If a glossy print keeps catching the window, PhotoScan by Google Photos is the tool for it. You line up the print, take a first shot, then move the phone over four dots on the screen; the app combines the shots to remove the glare, crops at the edges, corrects the angle and rotates the photo the right way up. It's free.
Two honest notes. It's slower per photo than the Camera app, and the App Store shows its last update as November 2022, so it works but isn't actively developed. Its own listing also says you can toggle glare removal off for prints that don't reflect, which makes it quicker.
Skip the document scanner for photos. The Scan Documents option in Notes, Files and Preview is built for paper pages. Your scan lands in a note or a PDF, not in Photos as a picture you can date, caption and share. It's great for Grandma's handwritten recipe card or an old letter, though.
Crop and straighten each scan in Photos
Open a scan in Photos, tap Edit, then the crop tool. Drag the corners in to the edge of the print. If the print looks like a trapezoid because the phone wasn't perfectly flat, use the straighten and tilt buttons below the frame: Apple's tools can straighten, tilt vertically and tilt horizontally. Tap Done. You can always undo later with Revert, because Photos keeps the original.
Fix the date so the scans don't bury this year's photos
This is the step that makes scans feel like a mess later. Your iPhone stamps every scan with today's date, so 300 photos from 1975 suddenly sit in the middle of your Thanksgiving pictures, and searching or scrolling by year stops working for them.
- Open the scan in Photos and tap the info button (or swipe up).
- Tap Adjust Info, then Adjust Date & Time.
- Set the year (and month, if anyone knows it), then tap Adjust.
For a whole batch from the same event, tap Select in your library, tap the thumbnails you want, and follow the same steps, per Apple's guide. Check one or two afterward, since a batch change applies to everything you selected. If you only know the decade, pick a plausible year and say "about" in the caption. To undo, choose Adjust Date & Time again and tap Revert.
You can set a location the same way with Adjust Location, for example the town where the house was.
Write down who's who while they're at the table
The most valuable part of the afternoon isn't the image. It's your aunt saying "that's Uncle Ray before the Navy." Swipe up on a scan and type it into the caption field. Apple notes that captions make photos easier to find in Search, so later you can search "Uncle Ray" and get every scan he's in. Also write names on the back of the print in pencil if they aren't there already.
Get the scans to the rest of the family
Put the finished scans in one shared album instead of texting them in batches, which squeezes the quality. We wrote up how in getting everyone's Thanksgiving photos into one album without filling iCloud; the same album works for the old prints. Relatives who want the originals can save them from there.
Clean up the retakes and back up the keepers
A shoebox afternoon usually leaves behind a trail of near-copies: the glare shot, the blurry one, the sideways one. Apple's built-in Duplicates collection (Photos > Collections > Utilities > Duplicates) merges exact copies, for example if you imported the same scans twice. It won't catch two different takes of the same print, because they aren't identical files. That's what our duplicate photos guide and a similar-photo finder are for.
Then make sure the scans exist somewhere besides your phone. iCloud Photos syncs deletions, so it isn't a backup on its own; here's how to make a real copy. And keep the prints. A scan is a copy, not a replacement.
How much storage this takes
Each scan is a normal iPhone photo, typically a few megabytes. Ballpark: 300 prints at around 3 MB each is about 1 GB. Live Photos add a short video to each shot, which is the easiest way to double that without noticing. ProRAW or other high-resolution formats make each file much bigger and don't help with a small faded print, so leave them off for this job. If the scans are going into iCloud Photos, they count against your iCloud plan too.
When the iPhone isn't the right tool
- Slides and negatives. They need light shining through them, so a phone on a table won't do. Use a scanner with a film adapter or a scanning service.
- Prints you want to enlarge or restore. A flatbed scanner at 600 dpi or more captures more detail than a phone photo of a small print.
- Thousands of photos. A scanning service is faster than an afternoon at the kitchen table, and many return the files on a drive.
Full disclosure: we make Phone Diet. It doesn't scan prints, remove glare or change dates; the steps above use Apple's tools and Google's free app. Where it helps is afterwards, grouping the retakes and blurry shots so you can clear them, and the first cleanup of up to 1 GB is free.
Questions people ask
What is the best way to scan old photos with an iPhone?
For matte prints, the Camera app: daylight from a window, flash and Live off, phone held directly above, then crop in Photos. For glossy prints that reflect light, Google's free PhotoScan app removes the glare by combining several shots.
Why do my scanned photos show up as taken today?
The iPhone stamps each scan with the moment you shot it. Fix it in Photos with the info button > Adjust Info > Adjust Date & Time. For several at once, tap Select, choose the thumbnails, and do the same.
How much iPhone storage does scanning a box of photos take?
Usually a few megabytes per scan, so a few hundred prints is roughly a gigabyte. Turning Live Photos off before you start keeps it there.
Should I use the Notes app document scanner for photos?
Not for photos you want in your library. Notes, Files and Preview make documents and PDFs. They're good for letters and recipe cards.
Is an iPhone scan as good as a flatbed scanner?
For sharing and screens, yes, if you shoot carefully. For enlarging small prints or restoring damage, a flatbed at 600 dpi or more, or a service, captures more. Slides and negatives need a backlit scanner or a service.
Sources: Apple iPhone User Guide, See photo and video information (captions, Adjust Date & Time, batch changes, Revert), Crop, rotate, flip, or straighten photos, Take Live Photos, Merge duplicate photos; Apple Support, How to scan documents on your iPhone; PhotoScan by Google Photos App Store listing (version 1.7, Nov 21, 2022).
Scanned the whole box? Clear the retakes
Phone Diet groups near-identical and blurry shots and marks the best one Keep, so the glare-and-sideways versions go in one pass. The scan is free.
Get Phone Diet on the App Store